What Surface Prep Is Required Before Applying Polyaspartic Coatings?
At a minimum, the concrete must be clean, dry, and mechanically profiled to a CSP 2–3 using diamond grinding or shot blasting. Proper surface prep also includes degreasing, repairing cracks, testing for moisture, and removing all dust before application.
When it comes to achieving a durable, professional-grade polyaspartic floor system, surface preparation is non-negotiable. Even the highest-quality coating will fail if applied over contaminated or poorly profiled concrete.
In this guide, I’ll walk through each critical step of the prep process, explain why it matters, and share expert tips to help contractors avoid common pitfalls.
Why Surface Prep Matters for Polyaspartic Coatings
Polyaspartic floor coatings chemically bond with the surface they’re applied to. That means any dust, oil, moisture, or surface defects can compromise adhesion. Even if you’re using high-quality systems like Hardbond Polyurea Basecoat and Hardbond Polyaspartic 2000 Topcoat, the system will only perform as well as the surface it’s bonded to.
Proper preparation:
- Ensures maximum adhesion between the coating and the concrete
- Prevents and reduces the risk of bubbles, delamination, and coating failure
- Helps maintain an even finish and consistent thickness
- Prolongs the lifespan of the floor system
Cutting corners during surface prep can result in callbacks, warranty issues, and costly re-dos. That’s why successful contractors treat prep as a critical part of the job, not an afterthought.
Step 1: Inspect the Concrete Surface
Before grinding or blasting, start by inspecting the condition of the concrete. Key factors to evaluate:
- Surface contamination (oil, grease, previous coatings, or sealers)
- Moisture content
- Cracks, spalling, or surface deterioration
- Curing agents or efflorescence on the surface
- Levelness or slope issues
Look for any signs of laitance—a weak, dusty surface layer that must be removed.
Also, test for moisture using a calcium chloride test or relative humidity (RH) probe, especially in new slabs. Polyaspartics are moisture tolerant to a degree, but excessive vapor emission can still pose problems if not addressed.
Step 2: Clean and Degrease the Surface
Cleaning is the first physical step in prepping a floor.
Use a heavy-duty concrete degreaser or alkaline cleaner to remove oil, grease, and other contaminants. Scrub the surface using an automatic floor scrubber or rotary floor machine with black pads or brushes.
Follow these steps:
- Apply degreaser and allow dwell time (as specified by the manufacturer)
- Scrub thoroughly and rinse with clean water
- Allow the surface to dry completely
For especially dirty floors, multiple rounds of degreasing may be necessary. Skipping this step can lead to adhesion issues, even if the floor looks clean to the eye.
Step 3: Mechanically Profile the Concrete
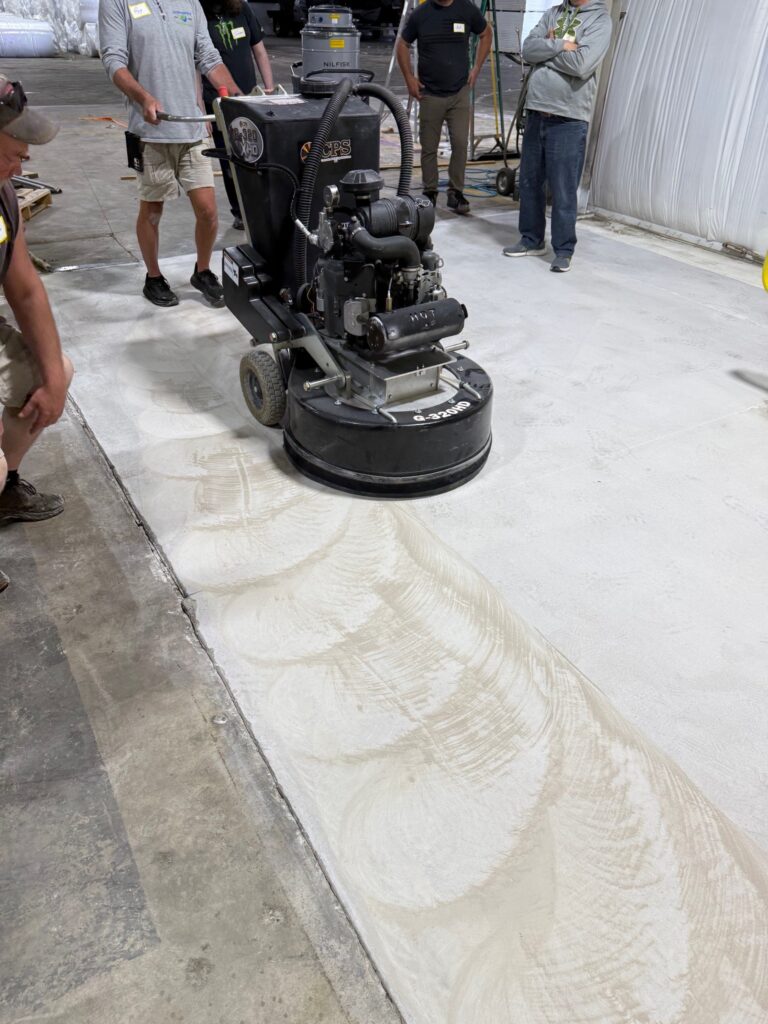
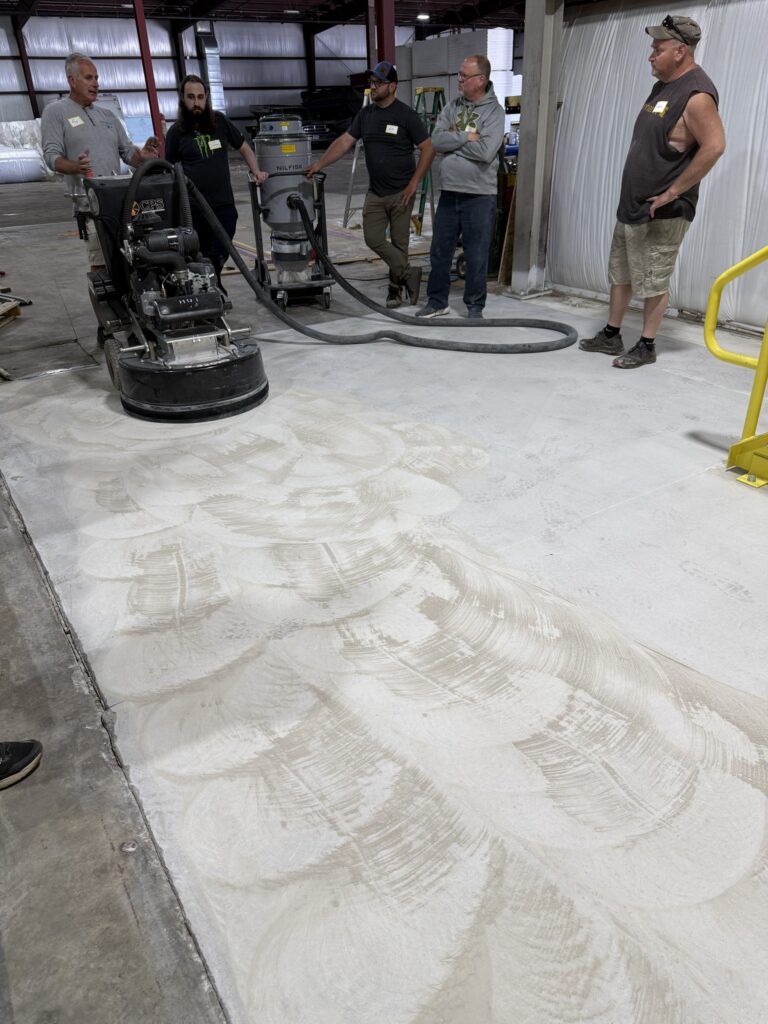
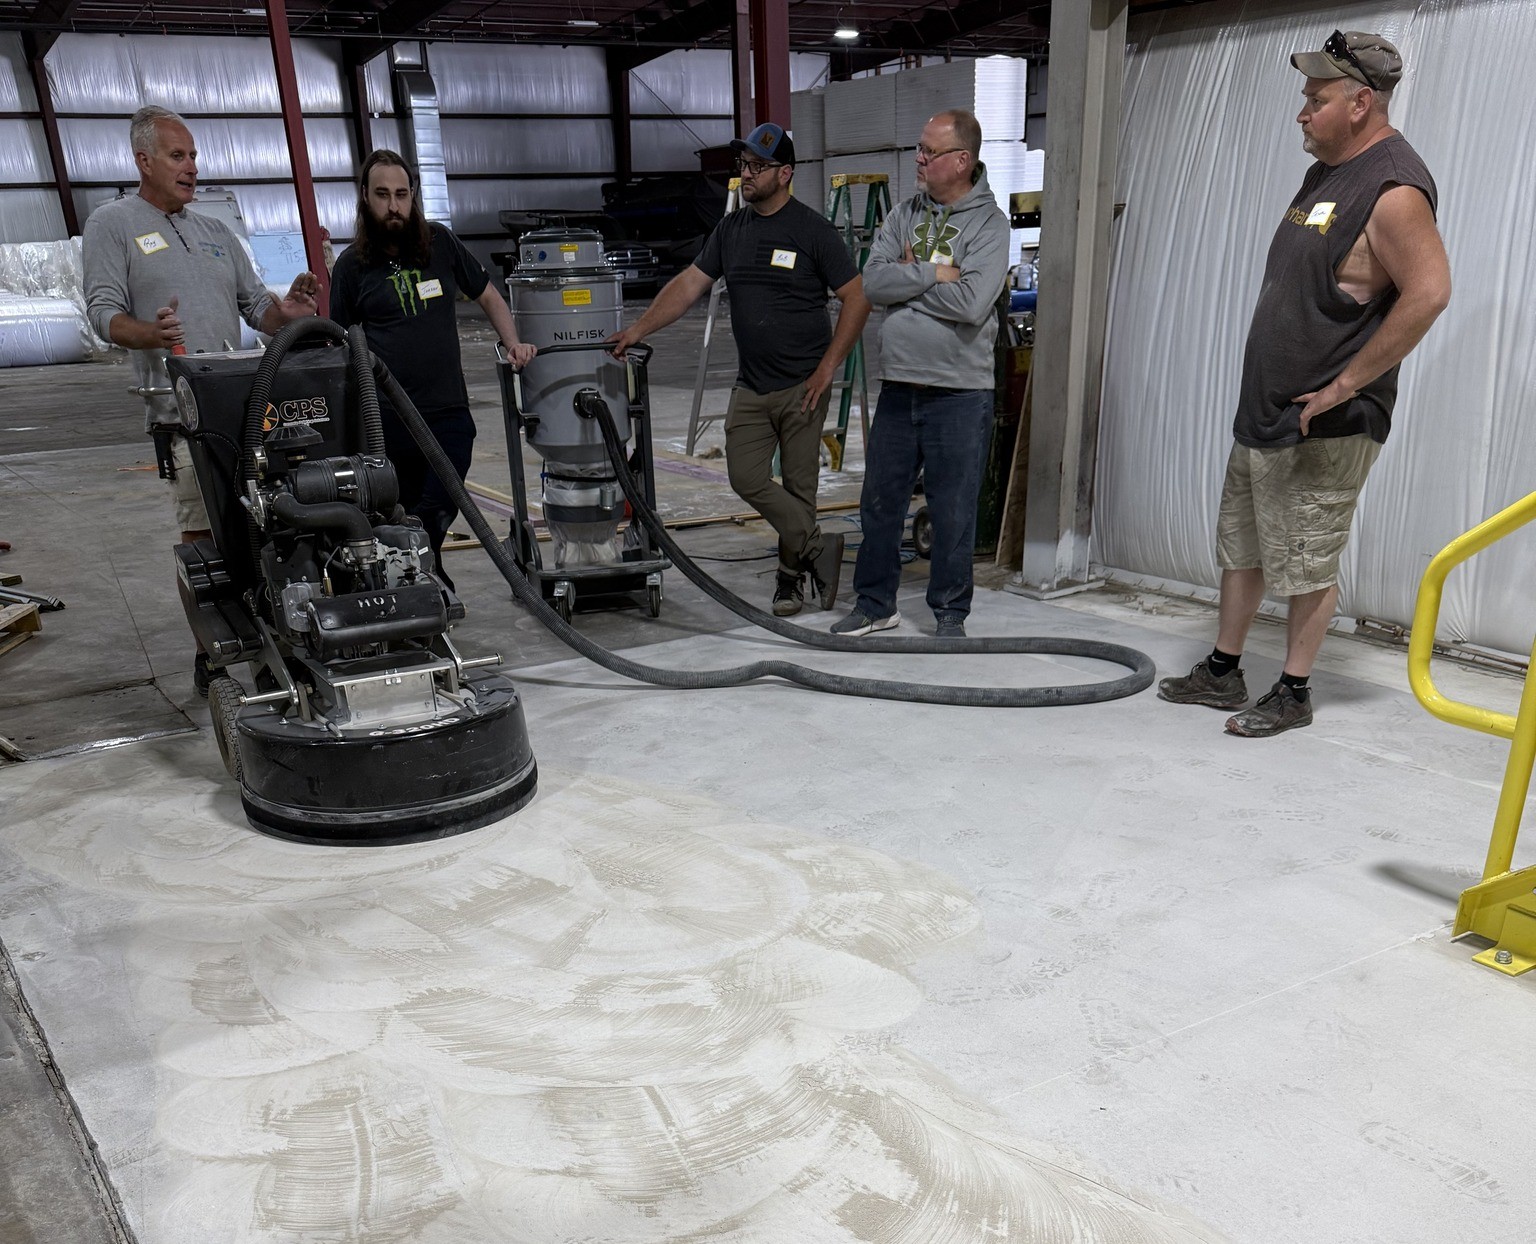
Surface Prep led by Roy Magnuson
Once clean and dry, it’s time to create a mechanical profile. This step is the backbone of surface prep.
Polyaspartic coatings require a CSP (Concrete Surface Profile) of 2–3, which ensures the surface is rough enough for optimal adhesion.
The two most common methods are:
Diamond Grinding
- Ideal for smooth, flat floors
- Leaves minimal dust with proper vacuum attachment
- Allows for precision in controlling depth and profile
- Use 16- to 30-grit metal bond diamonds
Shot Blasting
- Best for large commercial areas or heavily contaminated surfaces
- Creates a more aggressive profile (CSP 3–4)
- May require edge grinding afterward for complete coverage
Important Tip: Always grind or blast to profile, not just for appearance, using quality floor grinding equipment. The floor should feel uniformly rough to the touch, like 80-grit sandpaper.
Step 4: Repair Cracks and Joints
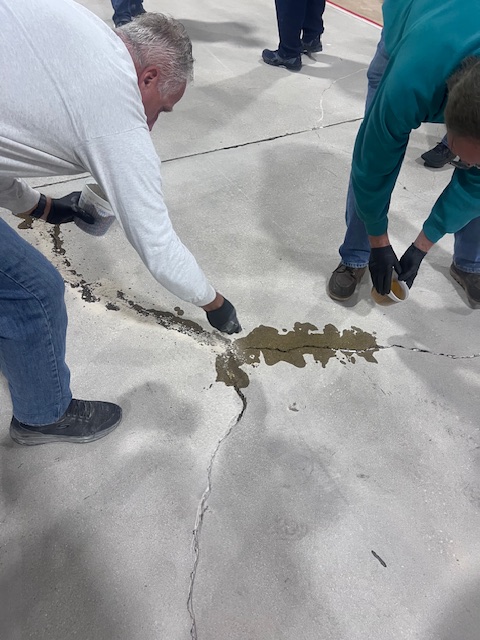
Concrete repair at Allsource Supply Inc.
Before applying your basecoat, repair all cracks, control joints, and spalled areas. Use appropriate repair materials that are compatible with your coating system—ideally, fast-curing polyurea crack fillers or epoxy patch compounds.
Allsource Supply offers premium concrete floor supply that works seamlessly with the Hardbond Polyurea Basecoat, ensuring uniform adhesion and finish.
Steps for repair:
- Chase cracks with a V-groove blade or grinder
- Remove dust and debris with a vacuum
- Fill cracks flush to the surface and allow proper cure time
- Sand or grind flush as needed
Pro Tip: Don’t fill expansion joints unless the polyaspartic concrete coating system is designed to accommodate movement.
Step 5: Final Vacuum and Tack Wipe
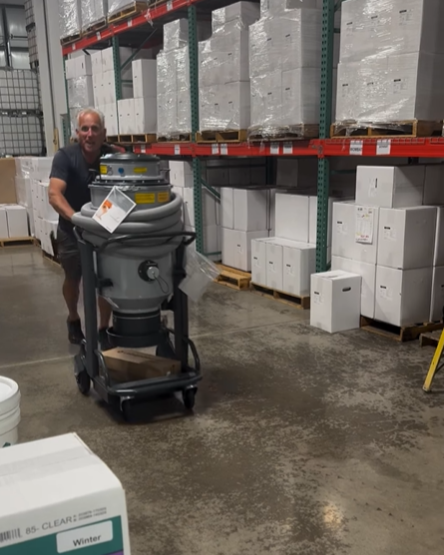
- Vacuum Surface Prep
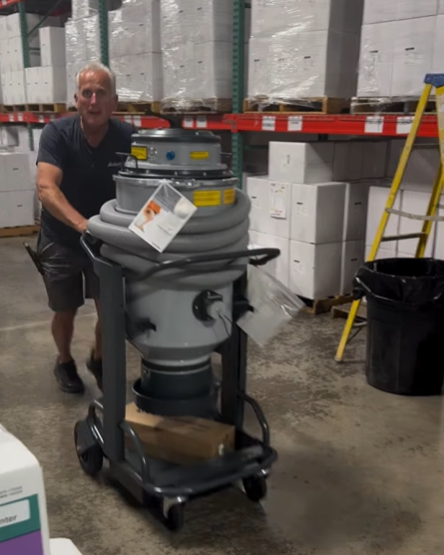
Roy, with our new vacuum at Allsource Supply Inc.
After grinding and repairs, you’re almost ready to coat—but first, remove all remaining dust and debris.
Use an industrial HEPA vacuum to thoroughly clean:
- The entire surface
- Edges and corners
- Expansion joints and repairs
For added insurance, you can follow up with a tack cloth or microfiber mop to eliminate fine particles. Any dust left behind can compromise the clarity and adhesion of your polyaspartic topcoat, especially if you’re installing a flake or metallic system.
Moisture Testing and Vapor Barriers (If Needed)
Concrete slabs can release moisture vapor long after curing. If you’re working on a ground-level slab or suspect moisture issues, test the concrete moisture before coating.
Acceptable moisture levels vary by system, but for most polyaspartic applications:
- RH (relative humidity) should be below 75–85%
- MVER (Moisture Vapor Emission Rate) should be under 3–5 lbs./1,000 sq. ft./24 hrs.
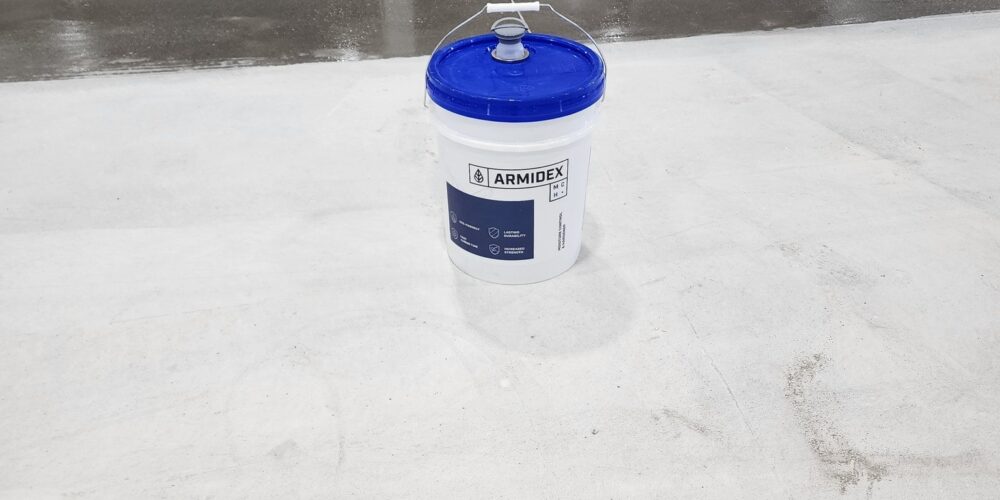
If readings are too high, install a moisture mitigation and densifier, Armidex MCH, or vapor barrier epoxy before proceeding.
AllSource Supply can recommend the right primer for your specific application and slab conditions.
Surface Prep Checklist Before Polyaspartic Coating
Here’s a quick reference before you start your next polyaspartic floor coating project:
✅ Inspect the concrete surface condition
✅ Clean and degrease thoroughly
✅ Mechanically grind or blast to CSP 2–3
✅ Repair cracks and damage
✅ Final vacuum and tack wipe
✅ Moisture test if applicable
✅ Confirm temperature and humidity before application
Recommended Tools and Equipment
For consistent results, invest in the right concrete coating tools and equipment. Here’s what we recommend for professional surface prep:
- 7” or 10” handheld grinder (for edges and repairs)
- Planetary floor grinder with vacuum port
- Industrial HEPA vacuum system
- Shot blaster (for large commercial jobs)
- Crack chaser blade or V-blade grinder
- Moisture testing kit (RH probes or calcium chloride)
- Concrete degreaser and floor scrubber
FAQs About Surface Prep for Polyaspartic Coatings
- Can I apply polyaspartic coatings over existing epoxy or paint?
- Not without proper prep. You must test adhesion and mechanically abrade or remove the old coating first. Poor bonding is a high risk.
- Is acid etching enough for polyaspartic prep?
- No. Acid etching is not recommended as it does not provide a sufficient mechanical profile. Use grinding or shot blasting instead.
- How long after grinding can I apply the coating?
- Ideally, within 24 hours. If you wait too long, dust may resettle, and humidity may affect surface conditions. Always vacuum right before coating.
- What CSP do I need for polyaspartic coatings?
- A CSP of 2–3 is standard for polyaspartic coatings. Heavier CSPs may be needed for thicker systems or high-wear environments.
- What’s the biggest cause of coating failure?
- Improper surface prep—especially poor cleaning or insufficient profiling—is the most common cause of failure in polyaspartic and polyurea floors.
Prep Like a Pro, Coat with Confidence
When it comes to polyaspartic floor systems, what you do before you open the can makes all the difference. Contractors who take the time to inspect, clean, profile, and repair the substrate set themselves up for reliable, long-lasting results.
If you’re using top-tier concrete floor supply like the Hardbond Polyaspartic 2000, don’t compromise on the foundation. Follow the steps above, use the right tools, and always prep to spec.
Need help choosing the right system or troubleshooting prep on a job? Contact our Allsource Supply team at 833-663-4255. We’re here to support your next project from the ground up.
- Best Ways to Protect and Enhance Concrete Surfaces for Long-lasting Durability - October 13, 2025
- How Long Does Concrete Coating Last, and How Do You Maintain It? - October 8, 2025
- How Weather Conditions Affect Concrete Floor Coatings: Durability and Best Practices - October 6, 2025

