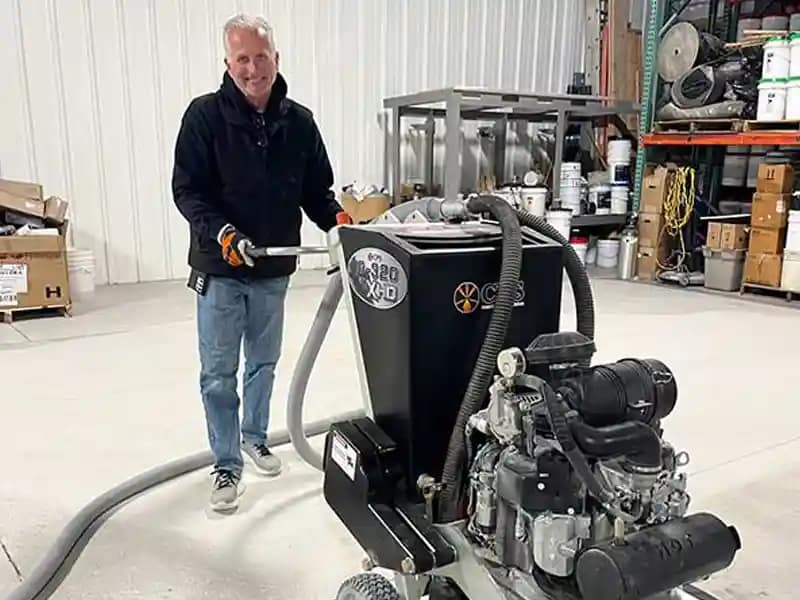
Sometimes it’s more cost effective to rent specific pieces of equipment rather than making the full investment. Every tool is maintained to the highest standard to ensure that it’ll get the job done.
Whether you’d prefer on-site consulting or just a phone chat, we’d be happy to talk through any project to make sure you and your crew can feel confident.
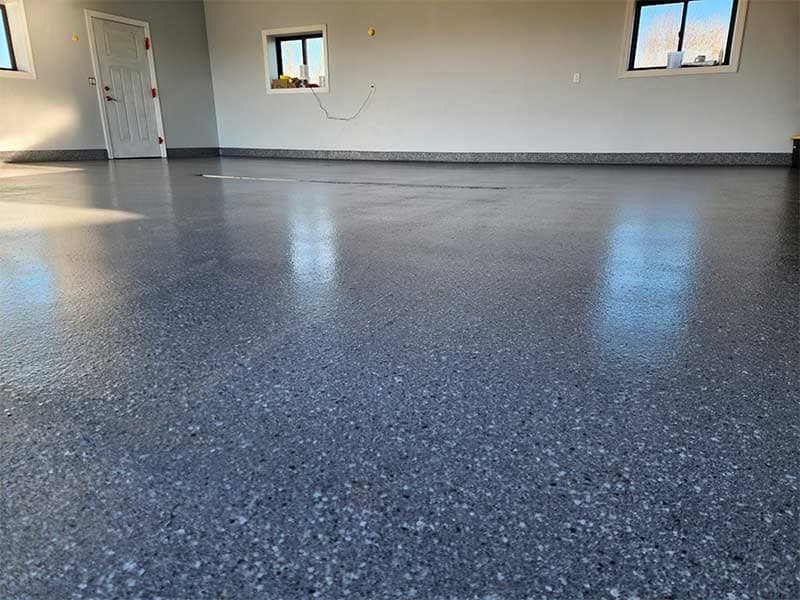
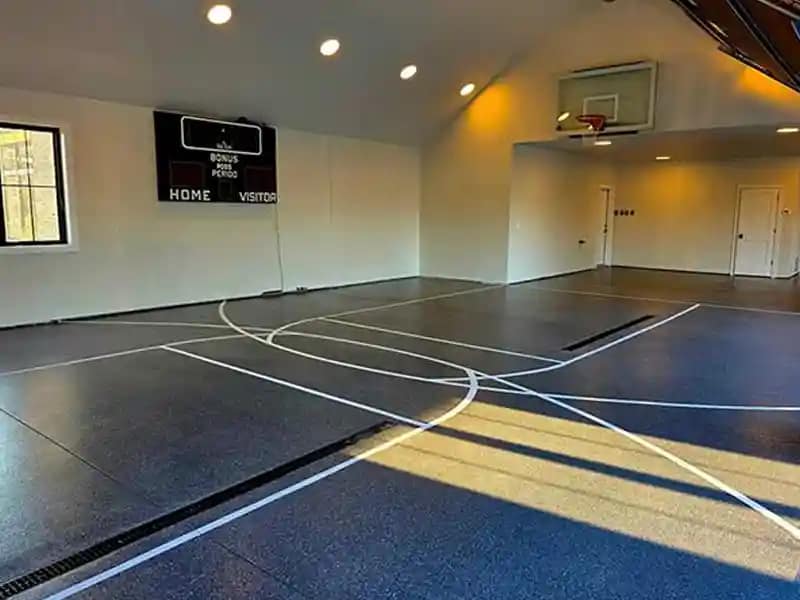
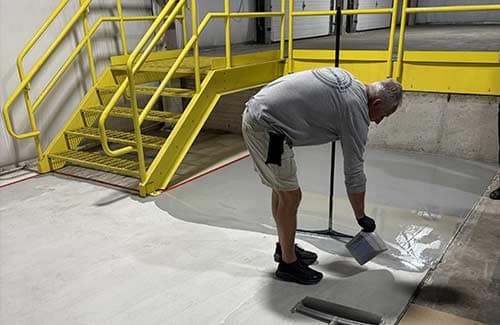
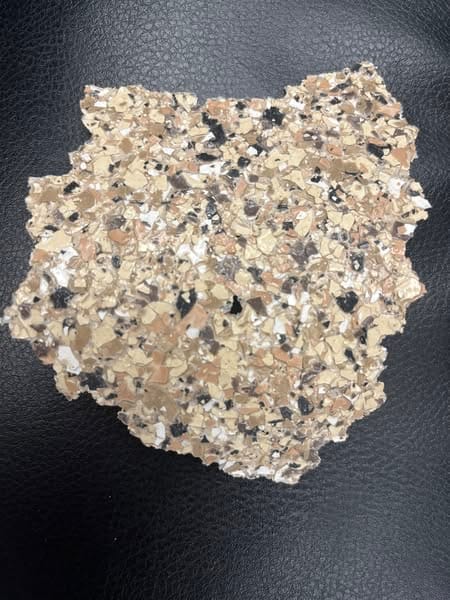
Concrete floor systems are complete coating solutions designed to protect, strengthen, and enhance concrete surfaces in a variety of environments. These systems typically include a combination of primers, basecoats, broadcast materials like decorative flake and durable topcoats such as epoxy, polyurea, polyaspartic, and urethanes. Specialized options like metallic systems create unique, high-end finishes with depth and movement, making them popular for decorative spaces.
About
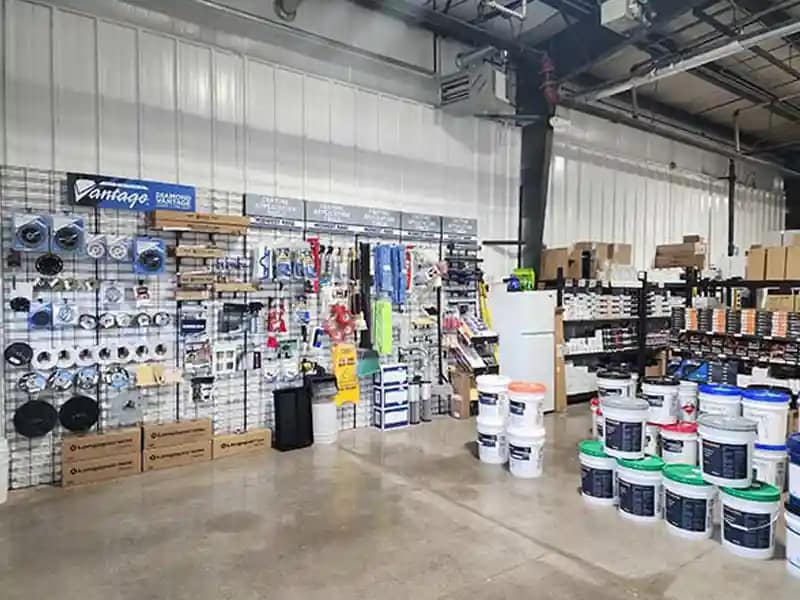
Allsource Supply Inc. is a family owned and operated concrete floor coating supplier located in the heart of the midwest. We supply professional grade jobsite materials and equipment for concrete professionals.
Why Is Your Concrete Coating Peeling? Common Causes and How to Fix Them
Roy Magnuson
Concrete coating peeling usually happens due to poor surface preparation, hidden moisture in the slab, or using the wrong primer. When coatings fail to bond properly, they can lift in sheets, bubble, or flake, costing time, money, and credibility on the job.
Concrete floor coatings are designed to protect, enhance, and extend the life of concrete surfaces. But when adhesion fails—whether it’s polyaspartic, epoxy, or polyurea—it’s often a preventable mistake. Whether you’re installing a coating in a garage, commercial space, or warehouse, understanding why coatings peel is critical to doing the job right the first time.
What Causes Concrete Floor Coatings to Peel?
Peeling floor coatings are often a sign that something was missed in the surface preparation or product selection process. One of the quickest ways to spot a failed coating is when the material lifts up in sheets, like a sticker peeling off a surface. This is almost always a symptom of poor adhesion between the coating and the concrete substrate.
Let’s break down the most common causes:
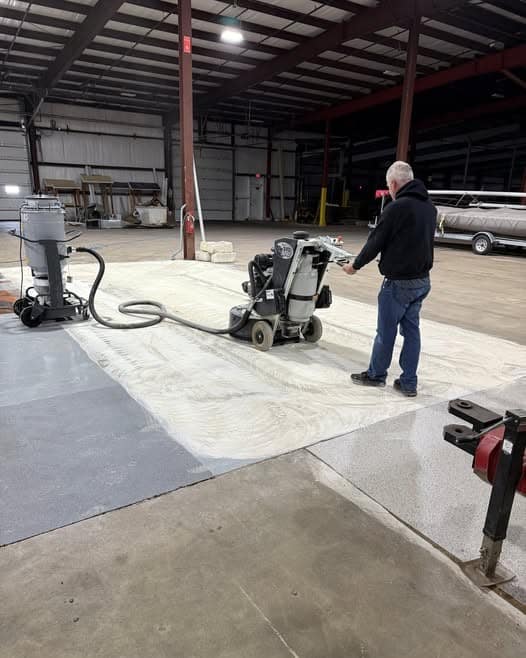
1. Improper Concrete Surface Profile (CSP)
One of the leading culprits behind concrete coating peeling floors is a poorly profiled concrete surface. Coatings need a textured surface to bond properly, especially polyurea and polyaspartic systems. If the concrete is too smooth, the coating may sit on top rather than penetrating and bonding with the surface.
Common Mistake: Skipping the grinding step or relying on acid etching alone.
Pro Tip: Always mechanically grind or shot blast to achieve the recommended Concrete Surface Profile (CSP 2-3) for most polyurea/polyaspartic systems.
Surface Prep Allsource
Concrete Surface Preparation
2. Moisture in the Slab
Concrete is porous and can retain moisture long after it appears dry. Moisture vapor rising from within the slab can create hydrostatic pressure that pushes against the coating, causing bubbles, blisters, and eventual peeling.
Signs of Moisture Issues:
Bubbling beneath the basecoat
Milky or cloudy appearance
Coating failure along control joints or edges
3. Skipping the Primer or Using the Wrong One
Some contractors may rush the installation process by skipping the primer, thinking it’s unnecessary. Others may use a primer that’s not compatible with the substrate or the coating system. Both can lead to adhesion failure.
What to Watch For:
Peeling in large sheets
Separation between basecoat and concrete
Best Practice: Use a high-performance epoxy primer specifically designed for concrete coatings. Match the primer with your basecoat chemistry—e.g., use a compatible primer for polyaspartic or polyurea systems.
Quick Fixes for Concrete Coating Peeling Floors
When a concrete coating starts to peel, the solution depends on how far the failure has progressed. In most cases, spot-patching won’t solve the underlying issue. Instead, a complete re-prep and recoat is required.
Here’s what the remediation process typically looks like:
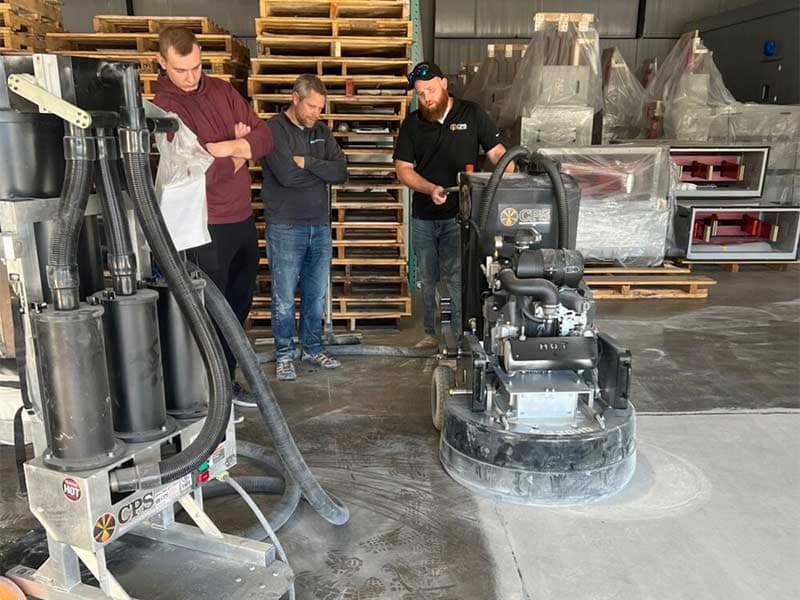
✅ Grind to the Proper CSP
Re-grind the surface using a quality concrete floor grinder equipped with diamond tooling. Your goal is to remove the failed coating entirely and create a fresh, consistent profile.
Tip: Use a handheld profile comparator or visual guide to confirm CSP 2-3.
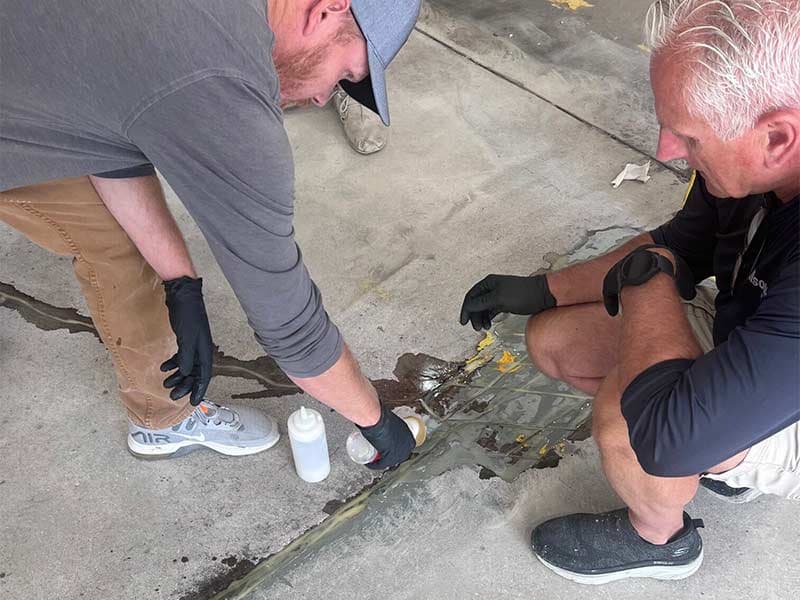
✅ Test for Moisture
Before reinstalling the coating, test the concrete slab again. Moisture may be more prevalent in certain seasons or in areas with poor drainage or vapor barriers.
Moisture Testing Tools:
Tramex concrete moisture meter
ASTM F2170 in-slab RH testing kit
Calcium chloride test kit
If moisture is found, apply a moisture mitigation Armidex, which is compatible with most polyurea and polyaspartic systems.
Armidex Primer and Tramex Moisture Tester
✅ Choose the Right Primer
Not all primers are created equal. Select a primer that matches your basecoat chemistry and that can handle any remaining moisture (if applicable).
AllSource Tip: For high-humidity or suspect slabs, use Armidex or a moisture-tolerant epoxy primer to ensure a strong bond.
Better Prep = Better Performance
Concrete floor coating is about the process. The majority of concrete coating peeling problems can be prevented by following a disciplined surface preparation routine. Here’s the AllSource checklist we recommend for every job:
AllSource Surface Prep Checklist:
Inspect Concrete: Look for cracks, efflorescence, spalling, or contamination.
Grind/Shot Blast: Mechanically profile to CSP 2–3 (unless otherwise specified).
Vacuum Thoroughly: Remove all dust and debris using HEPA vacuum systems.
Moisture Testing: Perform RH or calcium chloride test on each slab section.
Repair Cracks/Joints: Use a compatible patching compound or mender.
Apply Primer: Choose the correct concrete coatings supply for moisture conditions and system type.
Install Basecoat + Topcoat: Follow manufacturer-specific dwell times and recoat windows.
The Role of Training in Building Skilled Concrete Coating Contractors
The most consistent factor in successful coating installations is the skill of the contractor, not just the product. Proper training ensures that installers understand surface preparation, moisture testing, system compatibility, and recoat timing. These fundamentals are what separate reliable, long-lasting floors from those that fail prematurely.
Contractors who invest in concrete floor training are better equipped to prevent common issues like peeling, bubbling, and delamination. They can spot red flags early, make informed product choices, and adjust techniques based on job-site conditions.
Whether it’s mastering moisture mitigation strategies or refining surface prep to meet CSP standards, training builds confidence, efficiency, and long-term results in the field.
As one of our attendees in our training said:
Roy and the team at Allsource are a great group. We have been to two of there training classes. They offer a ton of knowledge and a lot of hands on. The product they provide is top notch. I would recommend if you are looking for a great product, classes and knowledge. Give them a call they treat you like family. — Jamie Betro
No. If the coating is peeling, the substrate wasn’t properly prepared or bonded. You’ll need to grind it back and start fresh.
How do I know if moisture is the issue?
Use a moisture meter or conduct an RH test. Bubbles, white patches, or widespread lifting often point to moisture-related failures.
Is acid etching enough for surface prep?
No. Acid etching does not create a consistent or sufficient CSP for most polyurea/polyaspartic coatings. Always mechanically grind or shot blast.
What is CSP, and why does it matter?
CSP stands for Concrete Surface Profile. It’s a measure of the surface roughness. Proper CSP ensures coatings physically anchor into the concrete.
What if the concrete slab is always damp?
You may need to apply a moisture vapor barrier like Armidex before installing the coating system.
Final Thoughts: Don’t Skip the Prep—It’s the Most Important Step
The best polyaspartic floor coating in the world won’t perform well if it’s applied over a poorly prepared slab. Whether you’re working on residential garages, commercial kitchens, or industrial facilities, proper prep is what sets professionals apart.
I’ve seen too many avoidable concrete coating peeling failures happen because someone skipped the grind, rushed the install, or chose the wrong primer. Let us help you do it right the first time—with systems that are field-tested, contractor-approved, and backed by professional guidance.
Whether you’re troubleshooting a peeling floor or planning a new installation, our team is ready to help.
Contact the Allsource team (833-663-4255) for product recommendations, surface prep advice, or to learn more about our certified coating systems.